Make sure you don't leave dust and fingerprints on glass or sensor. Just remove it and put on its place a cut-in-advance piece of optical glass with dimensions 9×7×1 mm. Better to put piece of adhesive tape on it during disassembly/reassembly. Gently lift up the circuit board.Īttention! Don't touch contacts, marked with con the picture! It's a high-voltage capacitor for internal flash, and it can really electrically harm you. Unscrew 1 and disconnect ribbon cable 2 (yes, it's flip-type too). Unscrew 1-5 and remove protective shield. They are flip-type - just flip up the dark lever to release the ribbon cable. Fuji is telling truth - it is REAL risk to get electric shock.ĭisconnect marked ribbon cables. Screws 1 and 2 are long, 3 and 4 - short, 5 - the shortest one. You will be able to do it within an hour or less. Or use adhesive tape to stick the screws to it.Ĭonverting S700 for IR is much easier than converting Canon DSLR. Prepare well lit place without dust, make numbered boxes for screws.

Herewith soldering iron, solder and cutter will not be nessesary. We bought special objective glass for microscope.

So, here are the steps to convert FinePix S700 to IR-enabled camera:

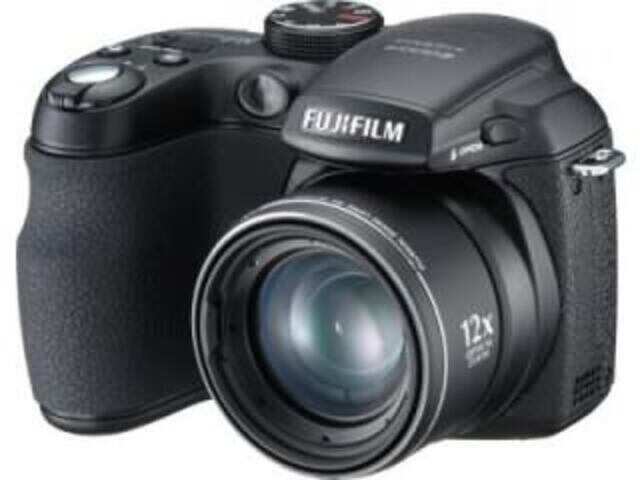
The day after collecting the parts we were ready to do it.įujifilm Finepix S700 was chosen just because of it's price - less than hundred euros on sale. My Canon 20D, converted for IR was stolen in Barcelona, so we with Irogoto decided to build new IR camera - from scratch, in hotel room.


 0 kommentar(er)
